Monday, January 23, 2012

Tamiya Avante 2011

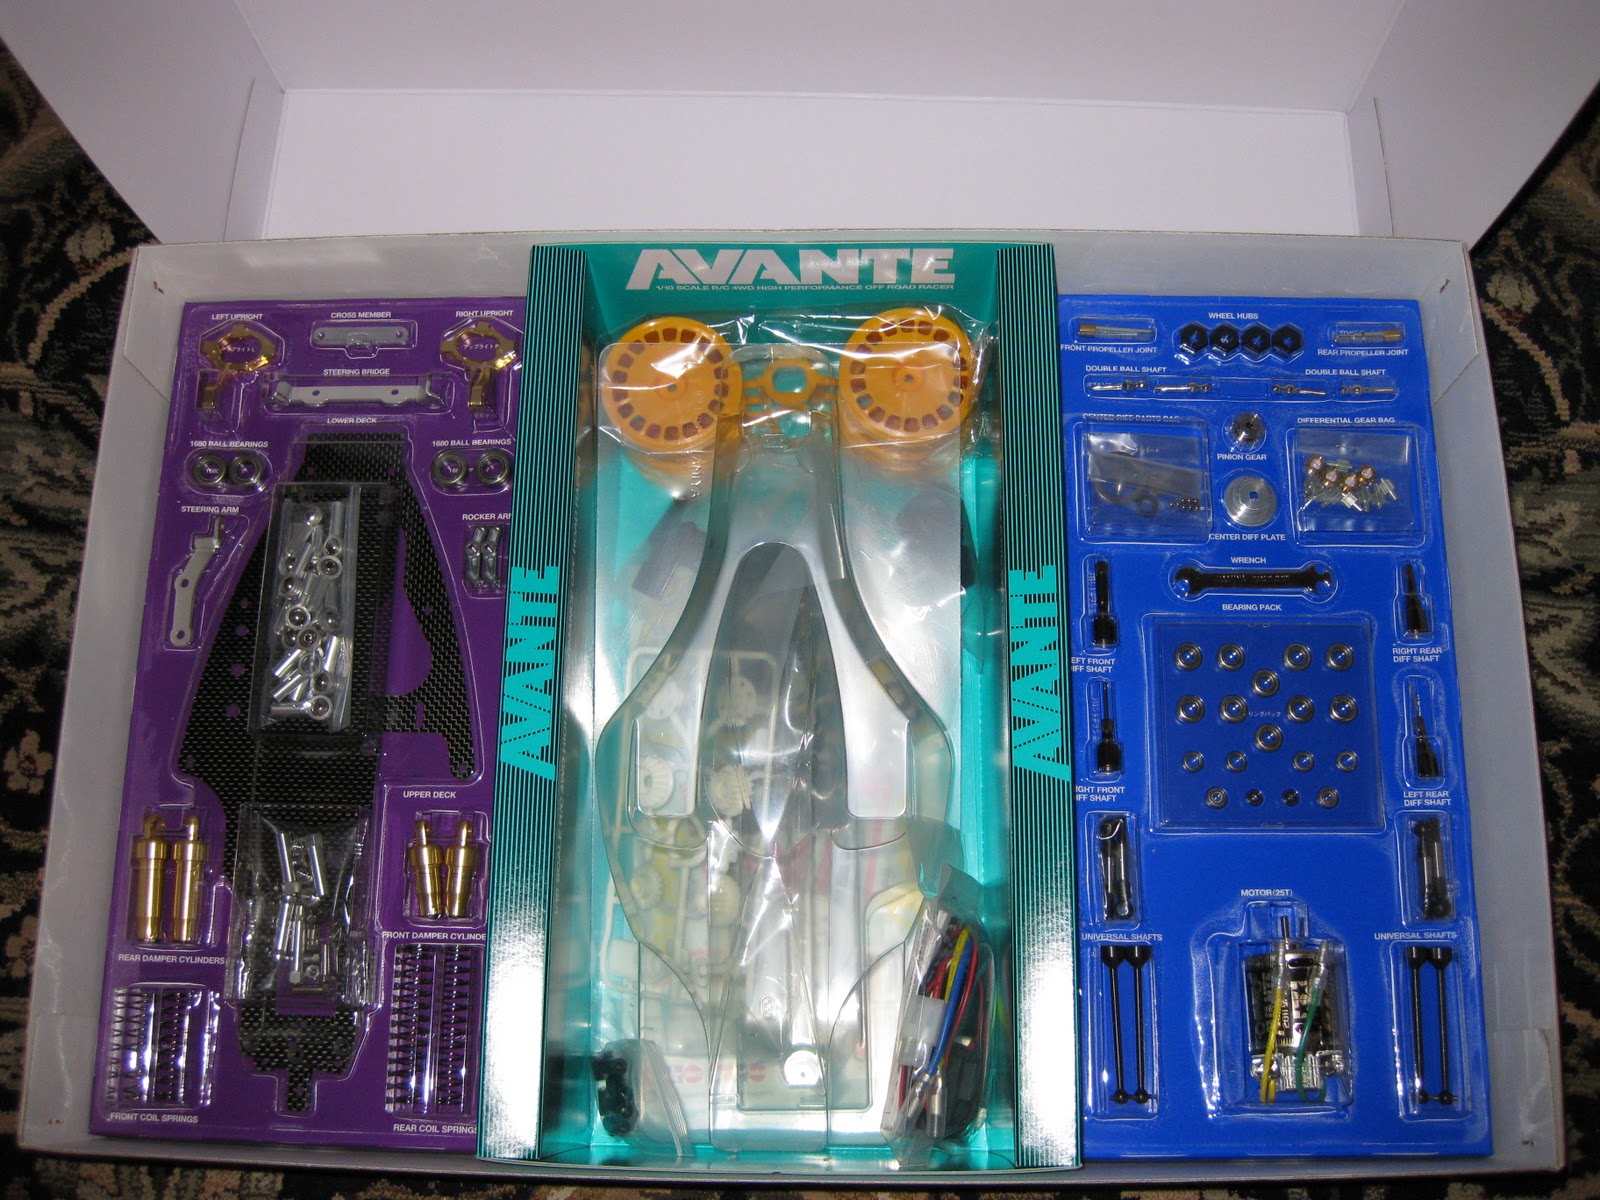
Tamiya re-released the Avante in 2011, once again surprising the Tamiya community.  The Avante 2011 (58489) is a modernized version of the original Avante (58072).  Major chassis components and design are the same as the original, but some parts were upgraded and strengthened.  For example, the upper and lower chassis plates are made out of carbon fiber instead of fiberglass, and the front uprights are made from machined and anodized aluminum instead of cast metal.  There are many other changes as well, including universal joints in front and rear, updated shock design and modernized wheel hubs.
Box top

Inside the box, showing the manual

Blister packs and polycarbonate body

The specially-labeled 25 turn Avante 2011 GT Tuned motor
Under the blister packs

More box art diagrams


TEU-104BK ESC, plus hop-up parts from Pargu2000 and rc_loverr
Yes, I could not help but buy some alloy hop-up parts for my Avante.  These parts from Pargu2000 and rc_loverr on eBay replace the stock E1, E2, C1, C2, and C3 plastic parts with aluminum.  Another eBay seller, cty300, sells alloy Avante parts as well, and they are a bit more detailed in design than the ones by Pargu2000.  Pargu's are more "chunky" while cty's are "elegant".

Bonus 2.2" wheels

The decals are not the same as the originals


An incredible car, and amazing that Tamiya re-released it!

Friday, January 20, 2012

Updated layout

I got bored with the default layout, so I made it wider, added some color, and created some new lists on the right side of the page.  I think it looks better than grayscale, don't you?

Monday, January 16, 2012

Tamiya Saint Dragon Restoration (part 1)

I found this on eBay.   Here is how it looked when I got it and removed the wheels.

It is a Tamiya Saint Dragon (58083).  It has the same chassis as the Tamiya Madcap (58082) and shares a lot of components with the Nissan King Cab (58081) and Toyota HiLux (58086).  The chassis is actually based on the Tamiya Astute (58080), but much more low end.  Still, it has a good gearbox design and accepted many of the Astute hop-up parts, which we'll see later.  I do not believe it was a very popular model, as the body style was very polarizing.  The Madcap was much more popular here in the US since it was a traditional 2WD buggy.  Here is the box top picture from the original auction to show what I mean.  The body was based on a Japanese manga comic.


This was "new built" which means it was put together but never ran, according to the seller.  When I got it, it was obvious that it was never run, however the previous owner had made some major changes to the front suspension arms in order to fit some longer shocks.   They had also used some interesting parts to act as wheel bearings.  Basically, one front wheel had "bearings" made from a hex-shaped nut with no threads and the other front wheel had a Tamiya plastic bearing and a 5x10mm Kyosho bearing which was too small (Tamiya bearings are 5x11mm).  Quite odd.

The front shocks were sort of a hybrid between the stock friction bodies and longer shock shafts to reach out to the ends of the arms.  A hinge pin made out of another shock shaft was used on both front arms to mount the shocks and the hub carrier.

The front suspension arms were cut in order to make room for the longer shocks, which effectively ruined the arms and prevented their use in the restoration.

In the back, black oil shocks were mounted instead of the stock red friction shocks.
The wheels and tires are brand new.  Rear tires are still available from Tamiya, however the front tires are hard to find.  I am lucky to have these in perfect condition.

The ball diff was extremely tight and did not feel good at all.  After taking it apart and cleaning all of the parts, I discovered the cause of the tightness.

This ball race was deformed, probably from heat.  I'm not sure exactly how it happened since the car has never been run, but most likely someone held one rear wheel while the other spun under power from the motor, and the friction inside the ball diff melted the race.
I wasn't planning on using the stock gearing anyway, so I didn't care much about it.
The body is actually in good shape.  It is untrimmed, and has damage to some parts, but none of the damage is located on the body itself, just the pieces that will get cut off.  Very lucky!  The decals, however, were wrinkled, bent, punched-through, and not really in good enough shape to be useable, so I bought a new set.  I also bought a new set of front suspension arms, a rear shock X parts tree to replace some missing rear shock parts, the rod bag to replace some missing shock springs, the hinge pin bag to place missing shock shafts and the front outer hinge pins, some missing screws, and some hop-up parts.
Starting from the top and going clockwise, the Madcap motor plate (53060) will be used to replace the stock plastic motor plate (amazing that Tamiya designed a plastic motor plate - talk about cheap!), a Thorp King Cab/Astute 48P ball diff (4975), a Thorp 48P conversion kit for the King Cab/Astute (4980), and finally a set of Astute universal joints (53061).  There was nothing wrong with the stock gears or drivetrain components, but I wanted to make this a bit better than stock.
I also got a set of front (50519) and rear (50520) CVA oil shocks in order to provide better performance than the stock red friction shocks.

For the restoration, I'm going to completely disassemble this chassis down to the individual screws and parts, give everything a thorough cleaning, and then build from the manual like new, but using the hop-up parts shown above, plus full ball bearings, a Tamiya TEU-104BK electronic speed control, and an Epic Paradox 27T motor with a 19T 48P pinion.  For now, I'll use the stock red shocks in order to give it the box art look, and when I run it I'll switch over to the CVA oil shocks.
I am planning on painting this box art, so the body will be all white with the stock decals.  I may also get a reproduction Madcap body and wing in order to have an alternative body style, but I'm not really sure about that just yet.

Monday, January 2, 2012

Rogue Element Components SRB Gear/Motor Cover

I got a set of these alloy gear/motor covers recently.  
The packaged kit

Chris Cazan, owner of Rogue Element Components, offered these for sale only to subscribers of his email list back in the beginning of November 2011.  
Sand Scorcher (SRB) Gear/Motor cover kit contents
These parts were so unique and cool looking that I had to get a set.  I'm not one for chrome or bling usually, but these parts seemed to offer a classy upgrade to the bland stock clear gear and motor covers that come with the SRB kits.

I installed these parts on a shelfer Super Champ that is not quite finished.  It took a bit of cutting and sanding in order to fit the clear lexan window into the gear cover, but the fit is tight enough to not require epoxy, especially for a shelfer.  I decided to leave the finish as-is, which means all of the tool marks and rough spots are the same as I got them from Chris.  The only thing I think needs a bit of work is the motor cover.  There are two issues with it:
  • It does not account for the electrical tabs that exit the rear of the motor, forcing you to bend the tabs outward, and even then both tabs touch the cover which would result in a dead short if power were applied to the motor.  It is possible to cover one or both tabs with heat shrink tubing, but the fit is very tight and I would be concerned about the cover cutting into the heat shrink insulation due to vibration over time.  If Chris made a small cutout in the motor cover or altered the design of the three spokes so the width was reduced, even just 1 or 2mm, it would have made all of the difference.
Both tabs are bent outward, but are still touching the cover

 The stock RS540 and Tamiya Sport Tuned (black) motors have plastic insulation surrounding the electrical tabs that exit the back of the motor.  This insulation isolates the tabs from the rear metal motor endbell to prevent shorts.  The insulation also sticks out of the back of the motor about 1mm to 2mm and the motor cover spokes hit the insulation, meaning that the cover cannot fully seat over the rear of the motor.  The insulation acts as two high points that allow the cover to rock back and forth.  Since the cover cannot get closer to the back of the motor, there is a gap between the cover and the gearbox on all 3 screws.
The insulation is black in color, surrounding the motor tab

Given the amount of detail Chris dedicated to these parts, I'm a little surprised that he did not encounter these issues during fitting.  Still, even with these issues, these are amazing parts and quite unique.  For a shelf queen, the problems are minor and with some cutting they could even be eliminated. 

About Rogue Element Components
Rogue Element Components is a custom machine shop owned by Chris Cazan that produces extremely limited machined alloy and plastic parts for radio control models, including hop-up and accessory parts for Tamiya vehicles and rock crawlers of any type.  The items are built to order and Chris keeps no stock on hand, so if you don't order an item when he offers it for sale, you will probably never get another chance to buy it again.  On rare occasions an item will be offered more than once if it was popular or Chris receives enough queries asking for another manufacturing run. Chris will do custom one-off work as well.

If you have an interest in very unique and detailed parts for your radio control vehicle, sign up for his email list by visiting the Rogue Element Components web site linked above.  Every few weeks you'll get a new product announcement from Chris via email with details on what is being offered and how to pay a deposit or full amount.  The item(s) will arrive in the mail about a month after he starts manufacturing.

Disclaimer:  I am not affiliated with Rogue Element Components in any way.

Monday, December 26, 2011

Shinsei Mountain Man

   No vehicle reinforced my fascination and love for radio control more than the Mountain Man by Shinsei Corporation.  I first saw it in a Toys R Us store in 1984 or early 1985 while browsing (ok, ogling) the radio control vehicle aisle.  It was always the first place I went when I visited any toy store.
Toys R Us used to put their the high-end models on display way high up and above the top of the shelves and out of reach back then.  The display models were usually larger and more powerful than the models on the lower shelves and they had a price to match.  The Mountain Man was one of the most expensive non-hobby grade models available at the time with a price hovering around $120.  I knew of only two stores that sold it:  Toys R Us and KB Toys.   The truck was the same price at both stores.  One time I remember watching an older kid buy a black Mountain Man at KB Toys and I was extremely jealous.  The truck was available in two colors, black and red, but the black one was what I wanted.
   Fast forward to sometime around my birthday in 1985 and my parents surprised me by agreeing to get the Mountain Man for me as a gift.  We drove to Toys R Us one night after dinner and asked if they had any in stock.  After checking inventory in the back, the clerk said only the red one was available.  I relented and agreed to get it.  I don't remember if there was conversion about trying other stores or if it was getting hard to find in stock, but we never tried to find a black one at KB Toys or another Toys R Us location.  It was a small compromise, but one I was willing to make just to have it.
   The truck takes 8 C batteries and 4 AAs for the transmitter.  I bought or already had a set of NiCD batteries for the truck and transmitter, so it was not a big deal to run it.  NiCds were and still are a great way to save money in the long run.  Back then I also knew that NiCD cells would put out more current than alkalines, making the truck more fun to drive.  Later on I bought two more full sets of batteries for the truck after finding an incredible deal on C-sized NiCD batteries at a local surplus store.  The 10 battery NiCD charger from Radio Shack (Archer) was sure a great thing to have, too.  I'd have a set of batteries charging, a set either waiting to be charged or just charged, and a set in the truck.  I could drive almost all day if all three sets were ready to go.
   Within the 30 day warranty period, the electronics in the truck broke.  I had to ship it to the repair facility.  Before I shipped it, I opened it up by removing the body from the chassis in order to see if it was something simple, like a broken or pinched wire.  I found nothing amiss, so away it went to get fixed.  After receiving it back, the repair note that came with it said "cleaned battery contacts" and nothing else.  Now, I knew the battery contacts were not dirty as I had already cleaned them in an attempt to get it working before I shipped it back, so I knew it was not all they did to repair it.  I removed the body and sure enough the whole circuit board assembly was replaced with a new one.  I have no idea why they'd lie about what was repaired, but as long as it worked, I did not really care.  I never experienced another failure.
   I only drove the Mountain Man outside.  I would stay mostly on the driveway, which was paved, but also go down to the stone dust section or the unpaved barn driveway to do some off-roading.  Shifting from 2-wheel drive to 4-wheel drive was done with a sliding switch on the top of the truck (there was no way to shift from the transmitter).  I would spend literally hours driving it around.  The motor driving the back wheels was fairly powerful considering it wasn't a hobby-grade vehicle.  It couldn't do donuts except on slick or dusty surfaces, but it moved pretty good.   4-wheel drive mode was geared down and a second motor drove the front wheels which helped on steep inclines.   The wheels and tires were not really over sized like most monster trucks made today, so it was not a "go anywhere" type of vehicle, but it did a good job.
   I still have the truck and just recently put some batteries in it to make sure it still worked after reading about it on a forum thread I happened to stumble upon.  At first it was acting a little weird, but once I discovered that two of the AA alkaline cells I had put into the transmitter were dead, it started to behave itself.  The battery contacts probably need some cleaning, too.  The truck is most definitely a "runner", and has probably seen a hundred hours or so of run-time in total.  Even so, the tires are still in very good shape with a good amount of tread left on them.   The chassis and body are dirty and have scratches and damage from many rollovers and rocks.  I need to mention that I did try to not roll it over, but sometimes I'd make a mistake on the pavement in high gear 2WD mode.  I never "thrashed" my vehicles on purpose.  Nothing is broken except for a small piece on one wheel rim.  I must have whacked something hard to do it.  The box is long gone, but I still have the manual, however I didn't take any pictures of it.

Not in bad shape, overall, for over 25 years old.


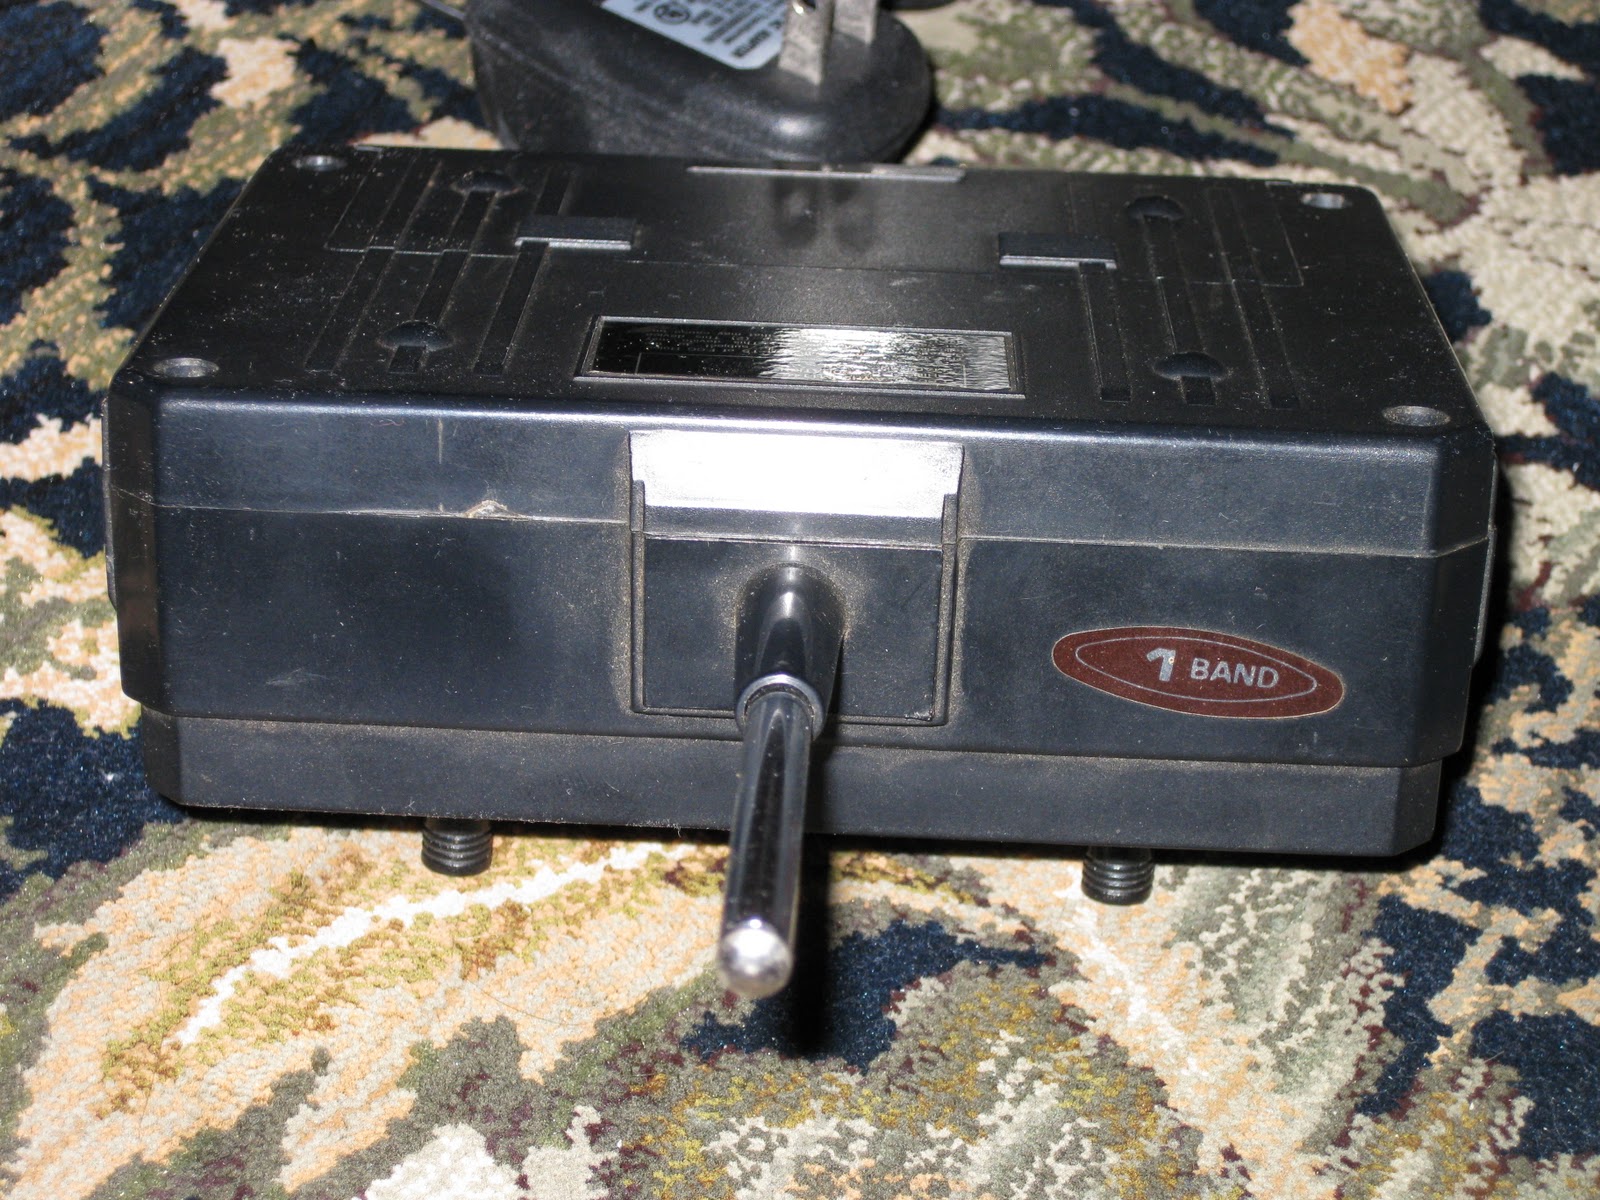
The black version used a different frequency, probably band 2.


The black switch on top flips between high-speed 2WD and low-speed 4WD modes


The spare tire is rubber like the rest.

Many dings and scratches are visible on the underside.  I drove this truck everywhere!

Eight C cells are used in the truck.  The transmitter takes 4 AAs.

Monday, December 19, 2011

Tamiya Buggy Champ and the Gold Edition

   Tamiya released the Buggy Champ in 2009 to much surprise and astonishment in the vintage RC community.  The Buggy Champ was actually the original Japanese name for the Tamiya "Rough Rider" released in the US in 1979.  The reasons for why the names were different in Japan and the US are not clear, although they could be simply because MRC, who was the US importer for Tamiya at the time, thought that the name "Buggy Champ" did not sound aggressive enough for the US market.  I have no facts to back that up, so it is just one possibility.   
   The original Rough Rider was the first of the Special Racing Buggy (SRB) models from Tamiya, which include the Sand Scorcher, Ford F-150 Ranger XLT and (some SRB purists would disagree with me on this) the Super Champ.  The SRB series was an effort by Tamiya to build radio controlled vehicles that were race-ready while still retaining many realistic features from the 1:1 scale vehicles they were based on.
   For the 2009 re-release, Tamiya kept the Buggy Champ name for the US market.  The reasons behind this choice are not clear either, but may have to do with trademarks on the Rough Rider moniker or because TamiyaUSA, now the sole importer of Tamiya products for the US, did not care how non-aggressive the Buggy Champ name was and decided that it was cheaper to use the same box art in all countries.  Again, I have no facts to back any of this up, so it is just an idea.  
   While not exactly the same as the original 58016 Rough Rider kit, the 58441 Buggy Champ is considered a "re-release" because it contains mostly the same parts and design elements that made the Rough Rider and the SRB platform such a vintage classic.  Tamiya even recreated the blister packaging that was so popular in the early eighties, which is really impressive to look at in person.  Many enthusiasts, me included, believed that Tamiya would never release such a kit again due to the sheer amount of metal parts and expense in manufacturing that goes with it.  As it turns out, Tamiya did not even have the original molds used for the major metal components for the chassis and had to create new ones based on an original example vehicle that Tamiya had in its possession.  The Tamiya engineer in charge of this effort claimed that it took only a couple of weeks of work to get the measurements required to make new molds.  I think that is impressive, and shows how much effort Tamiya is willing to expend in order to re-release kits.
   The Buggy Champ Gold Edition was a special edition of the Buggy Champ created by Great Planes Distributing and TamiyaUSA.  Great Planes is one of the largest radio control distributors in the US and is the place where almost all hobby shops and online stores get their Tamiya kits and parts.  Their marketing department wanted to create an exclusive edition of the Buggy Champ, so the Gold Edition was born.  The following pictures were taken by me shortly after receiving the Gold Edition of the Buggy Champ from Tower Hobbies.  I was one of the first to receive and post pictures of it on TamiyaClub using my Photobucket account.  Members of TamiyaClub were anxious to see what it was all about.  As it turned out, the only differences between the regular Buggy Champ and the Gold Edition were the painted body and stickers on the box.  The body was painted in Tamiya TS-84 Metallic Gold, but the roof section was not painted, probably because it was still attached to the parts tree and would have been difficult to paint quickly without getting paint on other parts that did not need to be gold in color.  Pricing on the Gold Edition was actually cheaper than the regular version, which was one of the reasons why I bought mine.  The gold can be sprayed over or left as is, so it does not detract from the regular kit at all in the grand scheme of things.
  

Special Gold Edition sticker distinguishes from the regular box

The blister packaging on the left and right sides display the major parts in a neat way


Same body as the regular kit, just painted in TS-83 metallic gold

The Tamiya TEU-104BK ESC was included

Since there was no official kit number for the gold edition, 58441 had to be covered by a sticker
The Buggy Champ Gold Edition is now discontinued by Tower Hobbies, and Tower no longer sells the regular edition either, however TamiyaUSA still has the regular kit in stock (at a premium distributor price so as to not compete with local hobby shops), so you could still have good luck finding a Buggy Champ at a local hobby shop.

Monday, December 5, 2011

White Lettering on Tires

I've never been a fan of painting the bodies on my cars, so painting the tires never even crossed my mind, at least until I saw fellow modelers do it on their cars.  It is practically expected nowadays.  For example, after I built and painted a re-re Tamiya Sand Scorcher and posted pictures of it on TamiyaClub in 2010, a couple members replied that I needed to paint the letters on the tires to make it look complete.  I agreed with them, but at the time I did not have a method for doing so that did not seem completely tedious or error-prone.  Threads have popped up every so often where someone asks how to paint the letters on tires.  The responses are usually limited to using white paint and a toothpick, or a pin or similar and just letting it flow into or onto each letter on the tire.  I always considered that method extremely tedious and time consuming.  It is a time honored method, but not one that I felt that I had the patience or skills for.  I guess I am not a true "modeler" in that sense.  I always imagined a drop of white paint splotched in between two letters because I put too much on the end of the toothpick and it dripped before it got to its final destination.  Or the paint would dry on the toothpick too quickly and wouldn't flow into the letters.  With these thoughts in my mind, I gave up before even trying anything.

But, a recent post on TamiyaClub (http://tamiyaclub.com) that described a white ink pen that can be used instead of toothpicks got me excited enough to give it a try.  The pen is made by Sakura, a company headquartered in Japan, and it's called the Gelly Roll(R) ink pen.  Their US website Gelly Roll(R) product page (http://www.sakuraofamerica.com/gelpen) doesn't even list white as an available color, but it does exist.  I located a supplier on the net and had a pack of three pens in my hands a few days later.
Three-pack of Sakura Gelly Roll pens with white ink

The pen is actually a ball point, which I'd never thought could be used for painting tires.  The ball is 0.8mm in size which is considered medium point and draws a 0.4mm line.  I did not see any fine point 0.6mm ball (0.3mm line) pens with white ink when I looked, but they may be available for finer lettering.
Close-up shot to show the 0.8mm ball point
Armed with this new tool, I decided to try painting the Sand Scorcher tires.


It took me around 10 minutes per tire.  It isn't easy keeping a steady hand for 30 characters per tire.  The way I did it was to basically draw each letter, allowing the ink to flow in between the outline ridges that make up each character.  I was really happy with the result at first, but then I noticed that the letters were not completely filled in after they dried.
The zero and second one digit are not filled in completely
I had not allowed enough ink to flow into each letter, thus capillary action and surface tension made the ink stay in the corners of the letters and away from the flat bottom, much like water sticks to the inside corners of plastic containers when you wash them.  I could go over the letters again, but since it is only noticable up close, I'm not going to attempt to fix these tires.  I'll simply modify my method for the next set.

Next up was the Tamiya Subaru Brat and its Sand Blaster 915s. 

Now these letters are much larger and wider than the ones on the Sand Scorcher.  I made sure to allow each letter to be filled with a pool of ink by lifting the ball of the pen away from the surface of the tire slightly while following the contours of the symbol.  This caused the ink in the pen to flow past the ball point and fill in the letter.  Now this was impressive!  The ink is nice and opaque and flows very well.  The ink dries within about 10 minutes.

Lastly, I did another set of Smoothee and Padlatrak tires from my Tamiya Grasshopper.


This time I made sure to allow each letter to fill in with ink, and the result is that there are no dark areas in the middle of each letter.  So the key is to allow enough ink into the letter to create a pool.

As for how durable the ink is, I have not tested it to find out.  A toothpick or fingernail will remove the ink on the raised edges of the letters, so I predict that the ink will come off if it is scratched or rubbed inside the letters themselves.  On paper, the ink is very resistant to chemicals and is quite difficult to remove.  Rubber, however, is a tough thing to write on.  But I am not looking for durability here.  My cars are runners, and I don't mind the normal scrapes and bruises that happen during normal running.  If the ink comes off, I can always touch it up again.


I'm very pleased with the results so far.  If you've been afraid to paint the letters in your tires, give the Sakura Gelly Roll(R) pen a try.