Friday, November 11, 2011

Quick Kyosho Blizzard update

It has been a long time since the last update.  I plan on updating more often now that winter is coming.  We'll see how that goes.

The Blizzard restoration got stalled at the point where the body needs painting.  I just could not get interested in painting this summer, plus I'm not sure what color layout I want to use.  I know I want to use red and black with clear or slightly tinted windows, and I think I want the major color to be red with black accents, but I have not been able to focus on the exact design.  I'll think about it some more during the cold season and hopefully be ready to paint this spring when it gets warm again.

As for the chassis, it is ready to go.  All mechanics and electronics have been fitted except for minor things like the receiver, mixer board, and ESC switches.

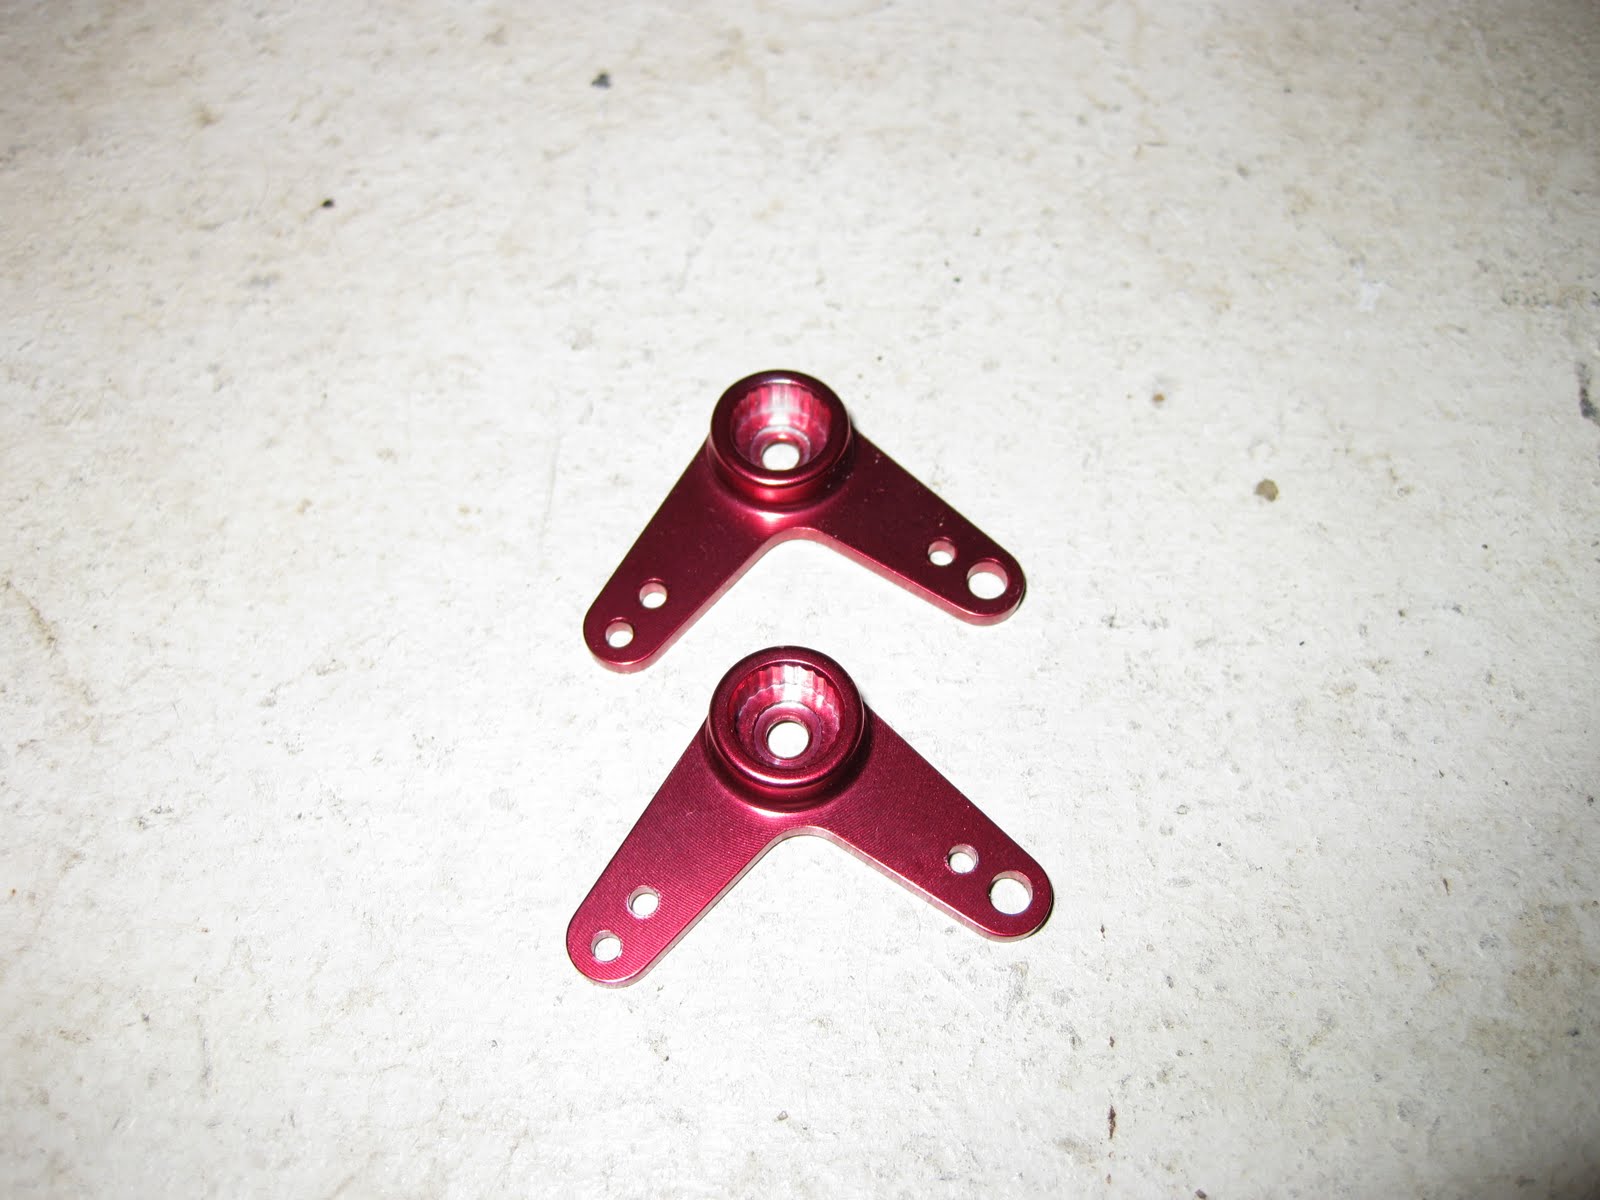
The most exciting part of this update is the new blade lift mechanism.  I used an aluminum threaded tube and aluminum rod ends with stainless steel ball inserts.   The two red servo arms that I showed in an earlier post were drilled out to fit over the pivot shaft.  Aluminum collars on either side hold them in position so they don't slide around.  Steel M3 threaded shafts were used to link the pieces together along with some M3 nuts with plastic inserts.  Check it out.
The main aluminum shaft is 73mm long.
A Futaba aluminum servo horn completes the linkage
The red servo horns should complement the body color nicely
Using twin servo horns allowed for a nice symmetrical look and plenty of strength
Duratrax 3x18mm hinge pins replaced the original screws
Washers, spacers, and a rubber o-ring were used to space things out and provide cushioning


There is almost no up/down play now with the plow blade.  Everything is really strong and I think it looks great.

Friday, July 22, 2011

Avante Aluminum wheels and hubs

There are some really cool looking aftermarket parts available for Tamiya cars, and a couple of very impressive ones are these anodized aluminum Tamiya Avante wheels and hubs.  These parts are made by "rc_loverr" on eBay, who is based in Hong Kong.  The wheels I got are machined aluminum and anodized in champagne gold and the locking hubs are also machined out of aluminum and anodized black.  Rc_loverr offers the wheels in champagne gold, gold (a darker gold), and silver while the hubs are offered in champagne gold, black, and silver.

First, the wheels:
Avante aluminum wheel (front) by eBay seller "rc_loverr" anodized in champagne gold

Avante aluminum wheel (back, 12mm hex)


   The machining quality is very good.  There is some slight burring in some spots but is easily removed with a fingernail, sandpaper, or small file.  The anodizing is excellent, with no discoloration noted in any wheel, nor between wheels.  Generally, it is difficult to match anodizing colors between separate parts.  These are all clear and consistent.

   I would not recommend these wheels for racing or bashing.  The aluminum is very thin where the inner hub part of the wheel connects to the outer rim.   I think it could be a weak point in the structure of the wheel.  These wheels are best for the shelf.  Use some plastic wheels for your runner.

Now the locking hubs:
Avante aluminum locking hub (front, locks down) by eBay seller "rc_loverr" anodized in black

Avante aluminum locking hub (front, locks up)

Avante aluminum locking hub (back, locks up)

Avante aluminum locking hub (back, locks down)

The machining on these hubs is again very well done.   The finish is clean and consistent.  The anodizing is excellent, with the same color uniformity as the wheels.   On the back you can see a spot where the anodizing isn't perfect, but it is probably where the anodizing electrode was touching the part and it's inside the back of the hub so it doesn't matter.
   The design of the locking levers is neat.   A screw and nut hold the locking lever in place and a captive spring provides pressure to keep the lever where you set it.   The spring does not snap the lever up or down, it just holds the lever in place and provides resistance so the lever does not want to move on its own.   

   Again, I would not attempt to race with these parts.   The levers could lift up slightly during the race and allow the hub to unscrew from the axle and the whole wheel could fall off.

A couple of final shots showing the locking hub inside the wheel:
Avante aluminum wheel and locking hub

Avante aluminum wheel and locking hub

 I would highly recommend these for your Tamiya Avante 2011 shelf queen.

Monday, July 11, 2011

Kyosho Blizzard Restoration (part 3)

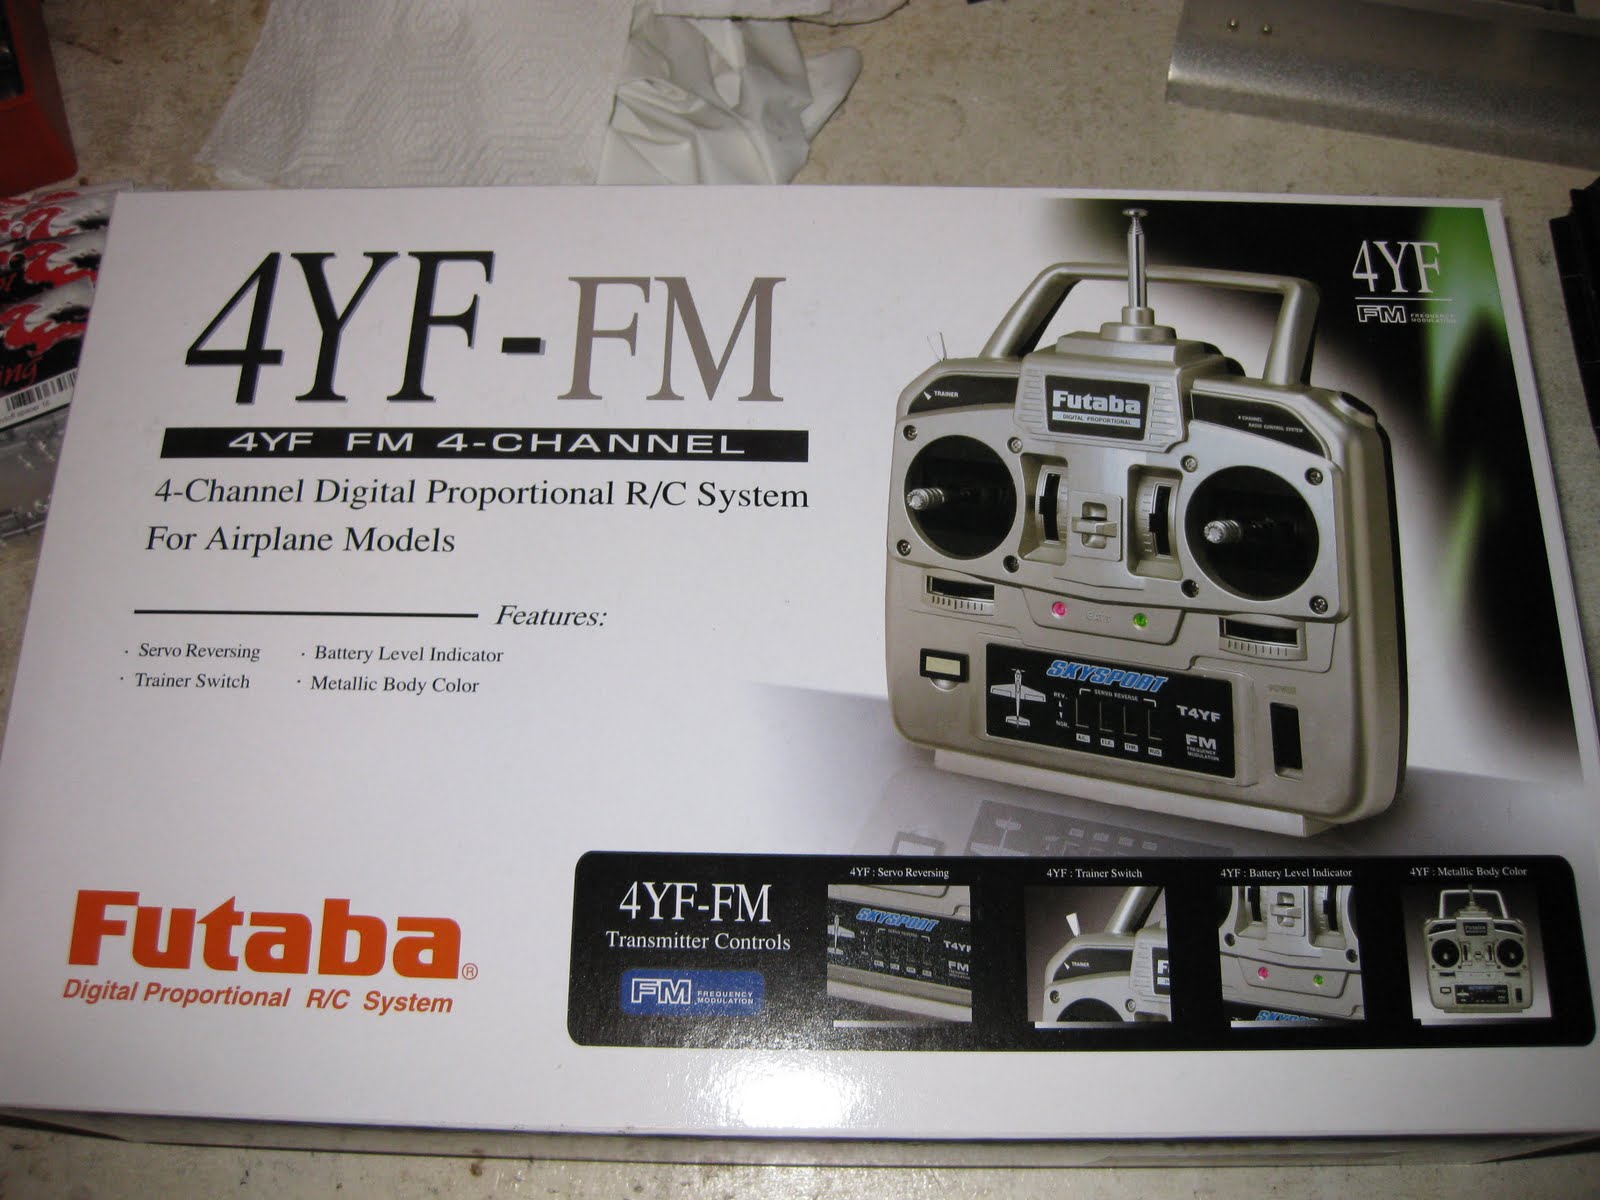
Another small update.  After receiving the servo conversion wiring (J to G) I did some bench testing of the Futaba Conquest 4 channel radio with the Robot Logic IMX-1 mixer and the M.troniks Viper 25 Marine ESCs.  The IMX-1 mixer has a simple procedure to configure the transmitter trims so the neutral stick setting can be configured to match the neutral pulse width expected by the IMX-1.  However, with the old Conquest, the neutral setting was beyond the limits of the trims.  There was no getting around that, unfortunately, so I bought a new 4 channel radio: a Futaba 4YF FM system.


The box says it is for airplanes, and the transmitter has the profile of an airplane on it, but this set is actually for ground-based models.  I chose channel 70, the same as my old Conquest system.

After making sure it was in working order and verifying that it was going to work with the IMX-1 mixer and ESCs (it did), I opened up the transmitter to move the racheting adjustment from the left stick to the right stick for control of the front blade.  I want to use the right stick for steering (left-right) and blade height (up-down).  It was simple to do.  The racheting mechanism is a flat piece of metal held by a screw, and it gets swapped with a single spring on the other stick.  Voila, now the right stick is ratcheted and un-sprung and the left stick is sprung!

The color of the transmitter isn't my favorite.  It's supposed to look like metal, but I'd rather have black.  When I was looking for a new 4 channel system, I looked at the 4GWD system from Futaba, but it had a few negative points:
  • It's AM.   I like FM, PCM, and 2.4G for the improved interference resistance.
  • It doesn't come with rechargable batteries.  I don't like using dry cells.
  • It only comes with 2 servos.  Not that I need any more, but...
For the same price, the 4YF seemed like the better deal.  Of course I am overlooking the fact that the 4GWD system was more computerized with an LCD display, digital trims and 3 model memory. But I didn't need those features, and felt that an FM system was a better long-term choice.

I made some simple foam battery holders.  The ESC radio wires were routed through the front foam block and the motor wires were soldered to the ESCs and heat-shrinked.

After trimming and ESC setup I did some driving around the house and gave the electronic drive system a workout.   It works well, but with some small drawbacks.  The first one is that when driving in reverse, the direction of the sticks is reversed from what you'd consider "normal".   So, pulling back on the throttle makes both tracks go backward, but then steering left makes the right track slow down and the Blizzard moves back and to the right.   You can get used to it with practice, but it wasn't something I expected.  The second minor drawback is that the sensitivity of the IMX-1 is not adjustable, and it does not take much steering stick movement to alter the direction of the vehicle.  If the transmitter had steering exponential, I think it would help mitigate this, but the T4YF is fairly low-end and doesn't have such functionality.  Both of these things are just annoyances.  Having the drive system be totally electronic is a major improvement over the stock MSC system.  Am I ruining the vintage spirit by doing this?  I don't think so.

Here are some pictures of the blade, muffler and blinking light circuitry from the accessory pack that were bought at the same time as the kit in December 1985:


Finally, I started to clean the original polycarbonate body this past weekend and it actually cleaned up very well.  Just a final wash and rinse and it should be ready for masking and painting.

Friday, June 24, 2011

Kyosho Blizzard Restoration (part 2)

A small update.  I assembled and installed the gearbox, suspension arms, wheels and tracks.   These tracks are the originals that came with the kit.  They are a little worn and some of the plastic has broken between the ribs making them weaker and more prone to total track failure.  I don't know how long they will last.  I have some spare tracks that I should be able to use if these break. 

I installed a couple of cheap aluminum heat sinks designed for 380-size motors.  They have a low profile so as to not interfere with the body:


Then I replaced the standard battery plug with Deans on the ESCs and mounted them to the sides of the chassis tub with servo tape:

Rather than hard-wire the ESCs together, I got a parallel Deans adapter assembly so a single battery can power both drive systems.  The battery will fit between the ESCs with plenty of room.  Some foam will have to be mounted to the tub in order to ensure the battery does not slide around and hit the ESCs.

The next step is to convert the Futaba plugs to type "G" to match the old Conquest 4 channel radio that will be used.  Then, some testing before final soldering of the motors to the ESCs.

Tamiya Super Fighter GR Buggy

Tamiya recently released the Super Fighter GR off-road buggy (58485) and I thought it looked cool, so I bought one.  It is an entry-level buggy based on the DT-02 chassis. 


After watching the above video posted by TamiyaUSA, I thought it only had a 380 motor since it seems rather slow, but the kit comes with a 540 silver can.

Here are some pictures of the kit:

I am not sure what the bonus parts are.

 The tires come pre-mounted on the wheels.

Interestingly, the kit comes with both a gray and white body and wing.  Maybe the white body set is the bonus?  I knew the kit details posted by Tamiya said the kit came with a gray body set, but I don't remember white.


 Parts bag showing the stock 540 and yellow shock bodies:

Not sure when I'll get around to building this one.  I've got other projects waiting.

Sunday, June 19, 2011

Kyosho Blizzard Restoration

I've started restoring my original 1985 Kyosho Blizzard.   I completely disassembled the chassis and cleaned all of the parts.   Have a look:

The plastic tub is in excellent condition but not perfect.  There was one suspension spring retainer fin that was broken, so I used CA to fix it.  I don't remember breaking it.

All of the suspension arms are in good condition:

The original Blizzard offered two choices of gear ratios.  The white gears on aluminum hubs are the final drive gears used on the rear drive axles.  Choose a ratio by tightening the set screw on either the large or small gear on both rear axles.  The other gear would free-spin and not get in the way:

Close-up shot of the suspension springs (3 different types) plus the rear drive axles and drive wheels.  These wheels are aluminum with rubber rings on either side of the drive spikes:

The original Blizzard white wheels are in excellent condition and cleaned up well.  The tires are also in really good condition.  The spur gears and their shafts are also in great condition.  I drove this thing quite a bit back in the winter of 1985-86 and also in the winter of 1986-87, but the drivetrain shows very little wear:

The middle gears that drive the final gears are in perfect condition:

These are the gearbox side plates.  The gearbox was pre-assembled by Kyosho at the factory in the original kit, however I wanted to completely clean all parts and bushings, so I disassembled everything completely:

The speed control system in the original Blizzard was a cool piece of engineering.  Two servos controlled two different speed control wiper arms.   This speed control handled the forward/reverse functionality:

And this speed control handled the proportional steering by modifying the amount of power going to each drive motor.  If you look closely, you can see that there are two small coils instead of one large one like the control above:

These are the drive motors.  They are Mabuchi RS380s:

The servos.  Two of them control the speed and steering through the speed controls shown above, and the third raised and lowered the plow.  I'll be retiring two of these (see why below):

This is a makeshift 90 degree pivot arm for the plow.  The original 90 degree arm broke one cold day when the tractor slid off a snow embankment front first and the plow took all of the impact.  The little plastic arm shattered in the cold.  I fashioned this from a large servo horn.  It looks ugly but it works:

For the restoration, I am going to try and use these 90 degree red anodized aluminum servo horns.  I will drill out the center so they will slide onto the pivot shaft and double them up for strength:

Instead of using the original mechanical speed controls with servos, I am switching to an all electronic control system.  This system consists of two Viper 25 marine speed controls and a IMX-1 mixer circuit.  The R113ip receiver will not be used - I was testing with it when the picture was taken.  The reason I chose these speed controls is because they have instantaneous reverse (no brakes) and were reasonably-priced.   The IMX-1 mixer is designed to take two receiver channels (throttle and steering) and control two independent ESCs driving two motors like a tank.   It works really well in testing on the bench.  We'll see if it translates to good control in the real thing once I get everything rebuilt:

This will be the receiver:

And finally, the transmitter.  It's only an AM system, but that is all I have for two-stick 4 channel ground control.  The right stick is ratcheted up/down for the plow.  The left stick is throttle and the right stick (left/right) is steering:

I'll update again as this project progresses.